
Description
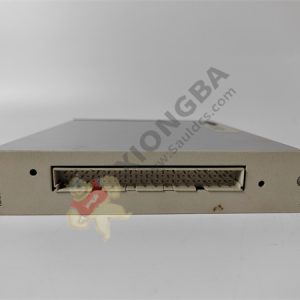
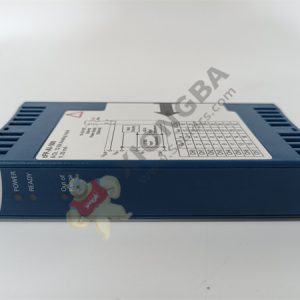
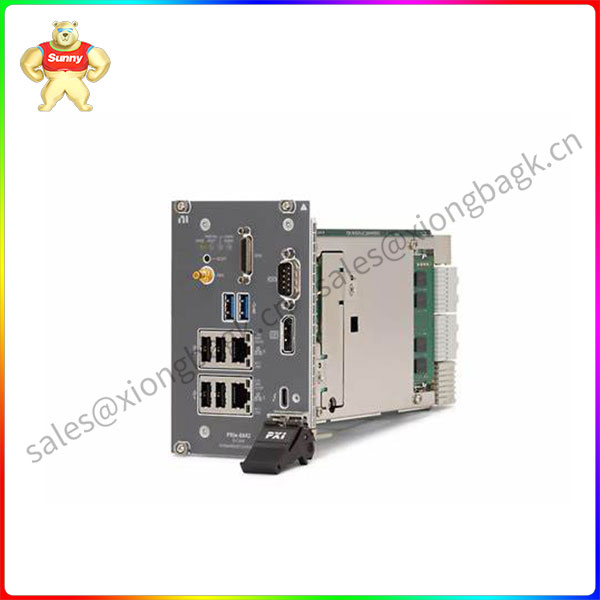
PXIE-8842 787882-01 2.6 GHz six-core processor PXI controller
The PXle-8842 is an embedded controller for PXI systems that can be used in processor-intensive
modular instrumentation and data acquisition applications. The Pxle-8842 includes two 10/100/1000/
2500BASE-T Gigabit Ethernet ports, one Thunderbolt” quad port, two USB3.0 ports and four USB 2.0
ports, as well as an integrated hard drive serial port and other peripherals I/0. Thunderbolt is a
trademark of Intel Corporation and its subsidiaries in the United States and/or other countries.
Raise the injector/ejector handle until the module firmly seats into the backplane
receptacle connectors. The front panel of the PXI-8840 should be even with the front
panel of the chassis.
8. Tighten the four bracket-retaining screws on the top and bottom of the front panel to
secure the PXI-8840 to the chassis.
9. Check the installation.
10. Connect the keyboard and mouse to the appropriate connectors. If you are using a PS/2
keyboard and a PS/2 mouse, a Y-splitter adapter is available to connect both to a single
USB connector. National Instruments offers a Y-splitter adapter cable, part number
778713-02, available through the online catalog at ni.com/products.
11. Connect the DisplayPort monitor video cable to the DisplayPort connector, or use the
DisplayPort-to-VGA adapter included with your controller to connect a VGA monitor to
the DisplayPort connector.
12. Connect devices to ports as required by your system configuration.
13. Power on the display. Refer to the PXI-8840 User Manual for details.
14. Power on the chassis.
15. Verify that the controller boots. If it does not boot, refer to the Troubleshooting section.
PXIE-8842
The following section describes the necessary steps to get your PXI embedded controller set
up to run LabVIEW Real-Time. In this section you will configure the controller boot mode,
verify or change IP settings, and install LabVIEW Real-Time software.
Complete the following steps to install the LabVIEW RT software.
1. Boot the NI PXI embedded controller into the real-time operating system. Refer to the
LabVIEW RT Configuration Switches section or the LabVIEW RT Setup Menu section in
this document to configure the controller for booting into LabVIEW RT. The PXI
controller automatically boots into LabVIEW RT Safe Mode when no software is
installed. LabVIEW RT Safe Mode loads with the basic real-time operating system and
automatically attempts to connect to the network using DHCP. If DHCP is not available,
it then connects to the network with a link-local IP address
Please contact Sunny sales@xiongbagk.cn for the best price.
➱ sales manager: Sunny
➱ email mailto: sales@xiongbagk.cn
➱ Skype/WeChat: 18059884797
➱ phone/Whatsapp: + 86 18059884797
➱ QQ: 3095989363
➱ Website:www.sauldcs.com